Editing
Auto-framing for podcast and gaming clips: layouts that follow the speaker
How speaker-following auto-framing works for vertical clips: podcast, gaming, and screen-share layouts, per-keyframe framing, and how to fix a crop in seconds without re-editing.
ClipperLab Editorial · · 5 min read
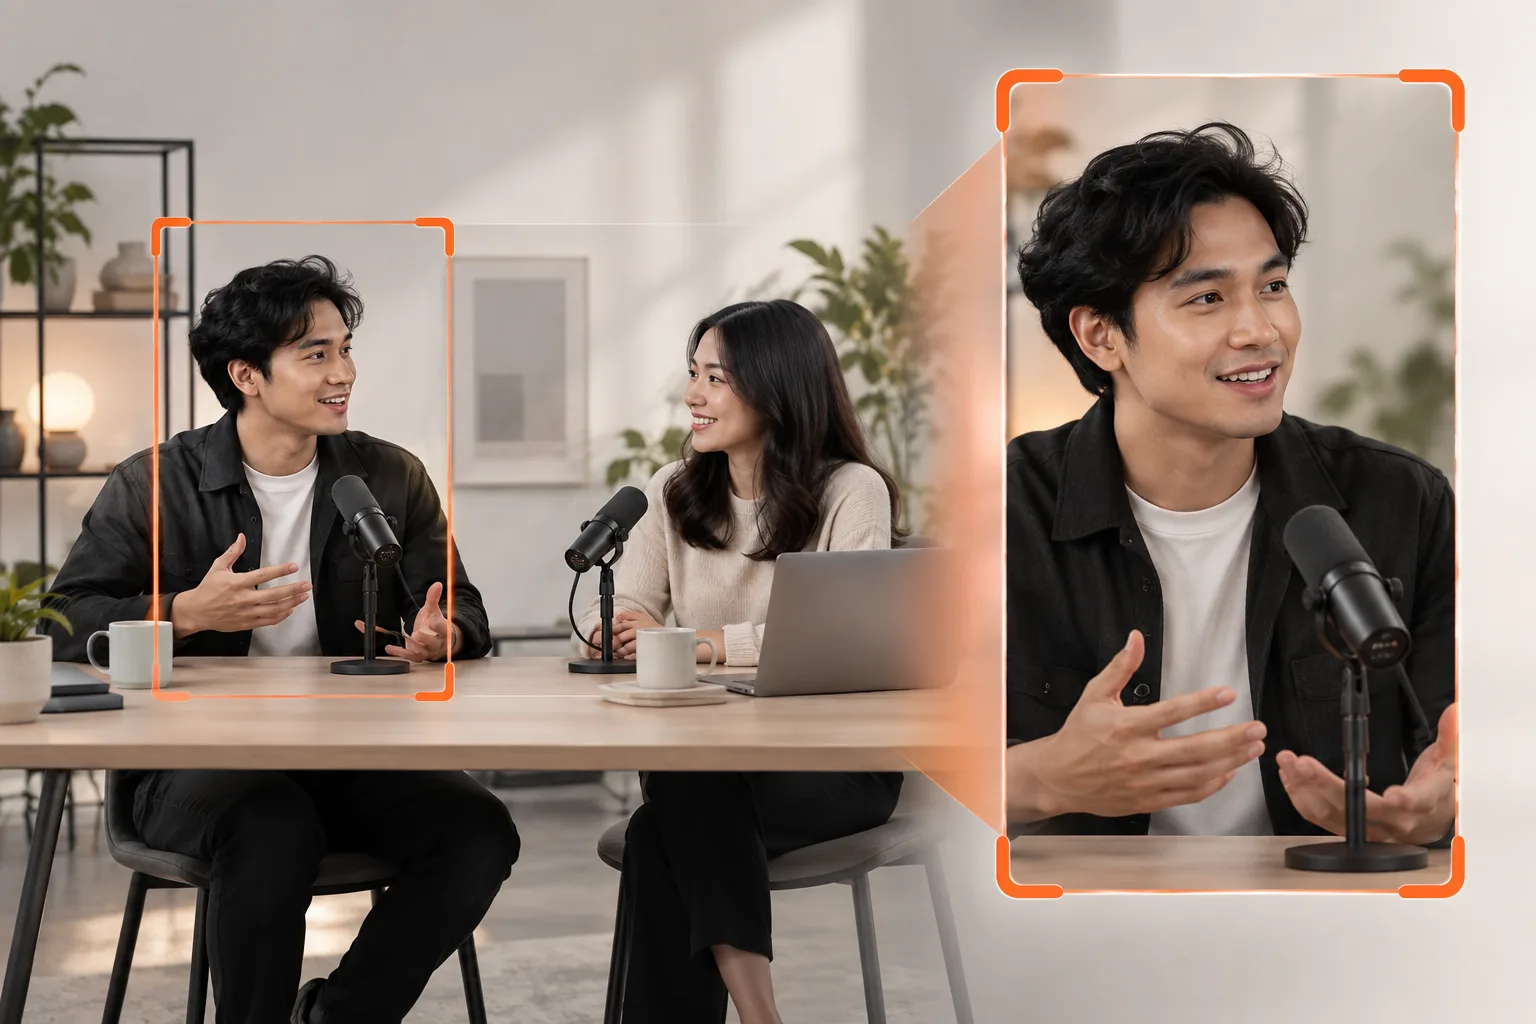
A landscape recording with two people in it cannot be turned into a good vertical clip with one static crop. Either both faces are tiny, or one of them is cut off every time the other one talks. Advanced clippers know this, which is why they spend most of their editing time moving crop boxes by hand.
Auto-framing in ClipperLab replaces that work with a layout: a plan that decides, for every stretch of the clip, who is on screen and how the frame is arranged. This article explains the layouts, what the planner actually detects, and how to correct it when it gets a moment wrong.
Pick a layout before the clips are made
Layout is the last choice in the new-project flow. The default, Standard, is the single crop most tools produce. The other modes change how each clip is composed:
- Auto looks at every clip and picks one of the modes below, or falls back to showing the whole frame when nothing fits.
- Talking head keeps one person in a stable crop that only moves when they do.
- Podcast cuts to whoever is talking, or shows two to four people at once with Split and Grid styles.
- Gaming stacks the facecam on top of the gameplay. The facecam corner is detected automatically, or you can point at it.
- Screen share puts the presenter above a full-width capture of the screen.
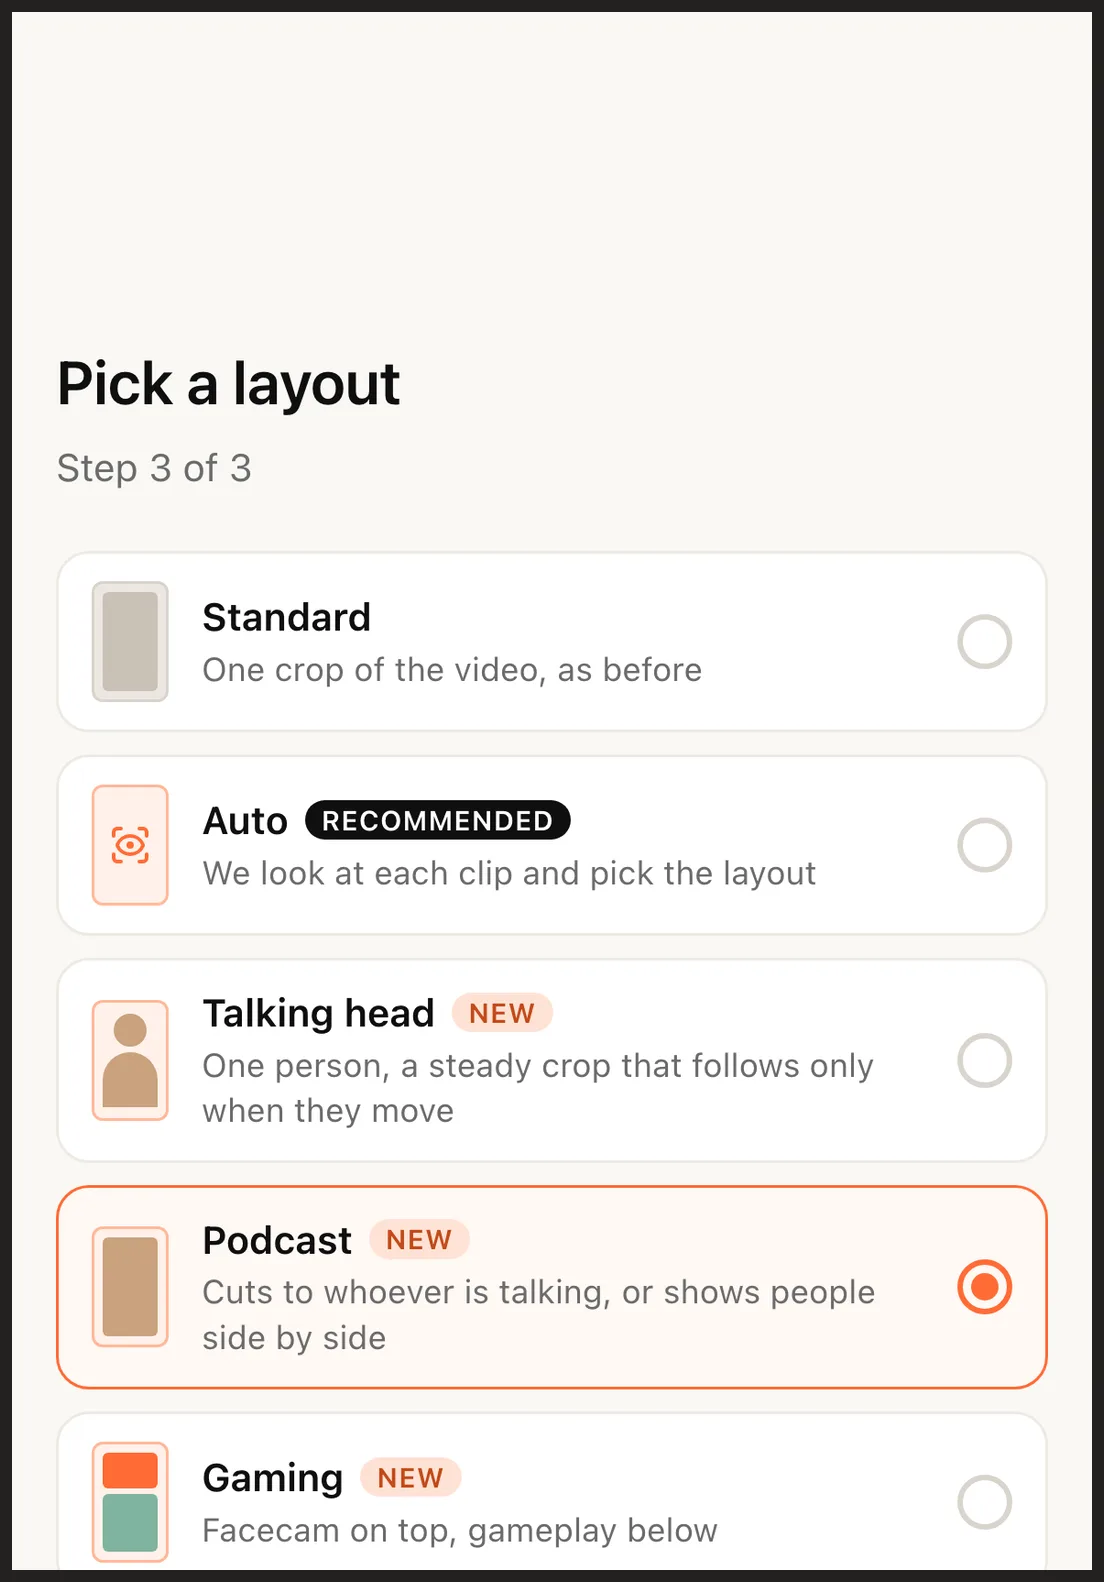
Layouts are decided per clip, not per project. A podcast episode that has a screen-share segment in the middle gets a screen layout for that clip only.
What the planner detects
For each clip the planner samples frames a few times per second, finds faces, follows them through shot changes, and groups the tracks into identities. For Podcast mode it also runs speaker diarization on the clip's audio and matches each voice to a face by mouth movement and by who is visible while that voice talks.
The result is a list of keyframes: time ranges with a fixed arrangement. A four-second range might be "person 2 alone, cropped to medium shot"; the next might be "person 3 on top, person 1 below". Cuts happen on speaker changes and shot changes, never mid-word, and very short turns such as "yeah" and "mm" do not move the camera.
If the planner's confidence is low for a clip, it does not guess. That clip is rendered as Fit, with the whole frame visible and a blurred fill, which is always watchable even when it is not the ideal composition.
Fixing a crop without re-editing
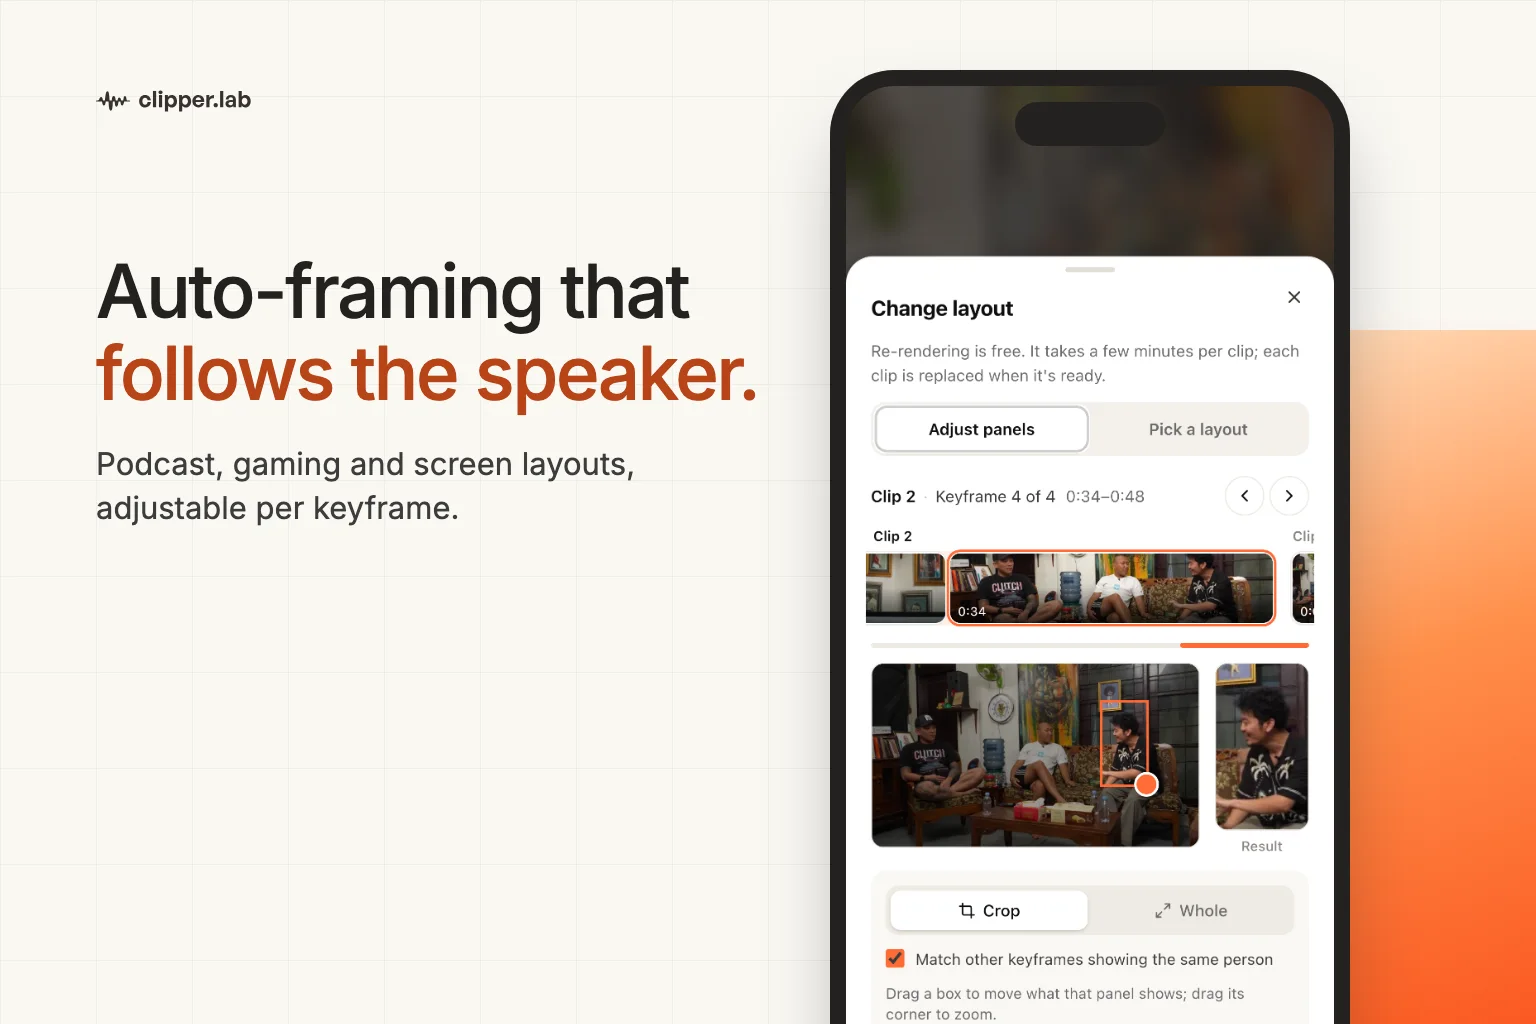
No detector is right every time. A guest who leans out of frame or a profile view that the face model misses can leave one keyframe framed wrong. The fix is in the clip page under Change layout → Adjust panels.
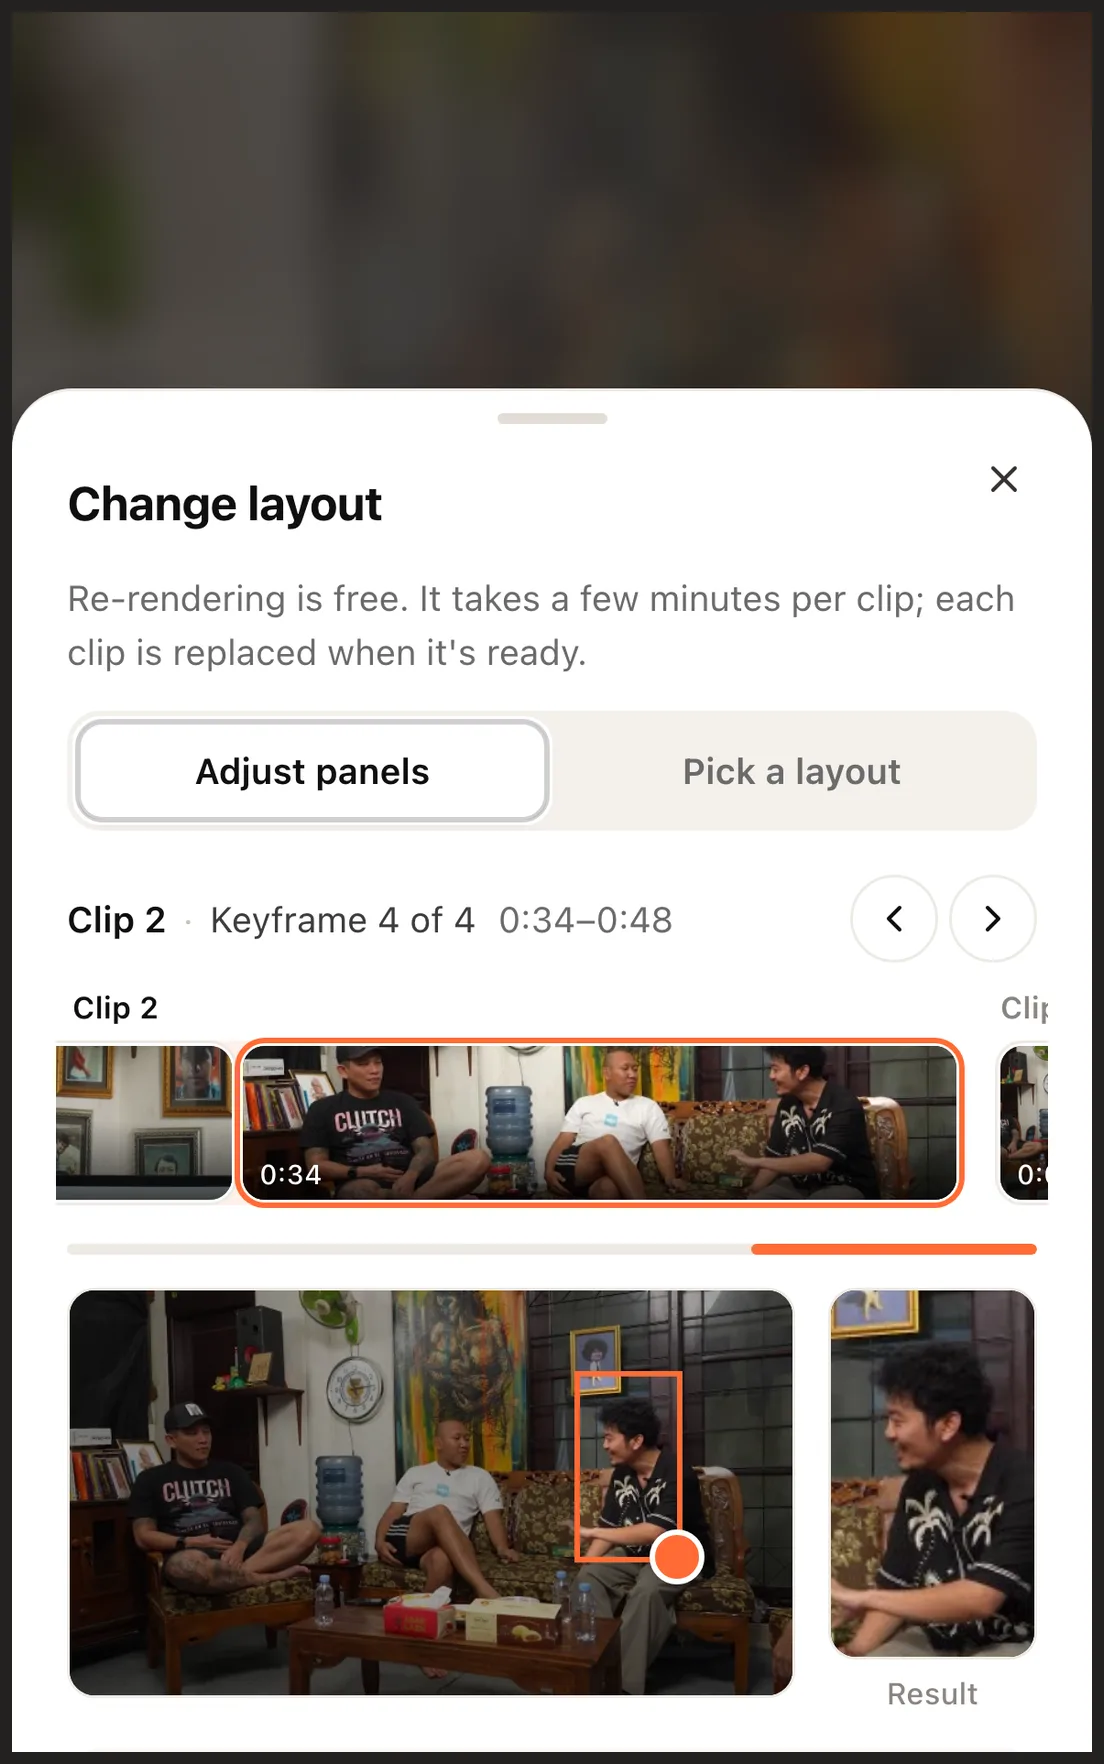
The editor works like this:
- The filmstrip shows every keyframe of every clip in the project, each with its own frame from the video, grouped under Clip 1, Clip 2, ….
- Tap a keyframe. The orange box is what ends up in the vertical frame; drag it to move the crop, drag its corner to zoom.
- Match other keyframes showing the same person is on by default, so fixing "the host" once fixes the host everywhere in that clip.
- Crop / Whole switches a keyframe between a person crop and the full frame.
- Save. Only the clips you changed are re-rendered, and re-rendering is free, up to three times per clip.
The first clip of a project is usually watchable minutes before the job finishes, so you can check the framing early while the rest renders.
Resolution, and a note on older clips
Layouts render at 1080×1920 for paid accounts and 720×1280 on the free tier. A clip that was rendered before you upgraded is re-rendered at the higher resolution the next time you adjust it.
Clips made before the panel editor existed have no keyframe plan yet. Pick any layout once and re-render; from then on that clip opens in the editor like the rest.
When to use which layout
- Interview or podcast with two to four people: Podcast, style Follow for fast back-and-forth, Split when both reactions matter.
- One person to camera: Talking head.
- Gameplay with a facecam: Gaming, and choose Full gameplay if the map or HUD matters.
- Slides, code, or a demo: Screen share.
- Unsure, or a mixed episode: Auto, then review the clips whose layout the planner set to Fit.
For the basics of vertical conversion, including safe zones and caption placement, see turning landscape video into vertical clips.